How I made an AI commercial for under €20
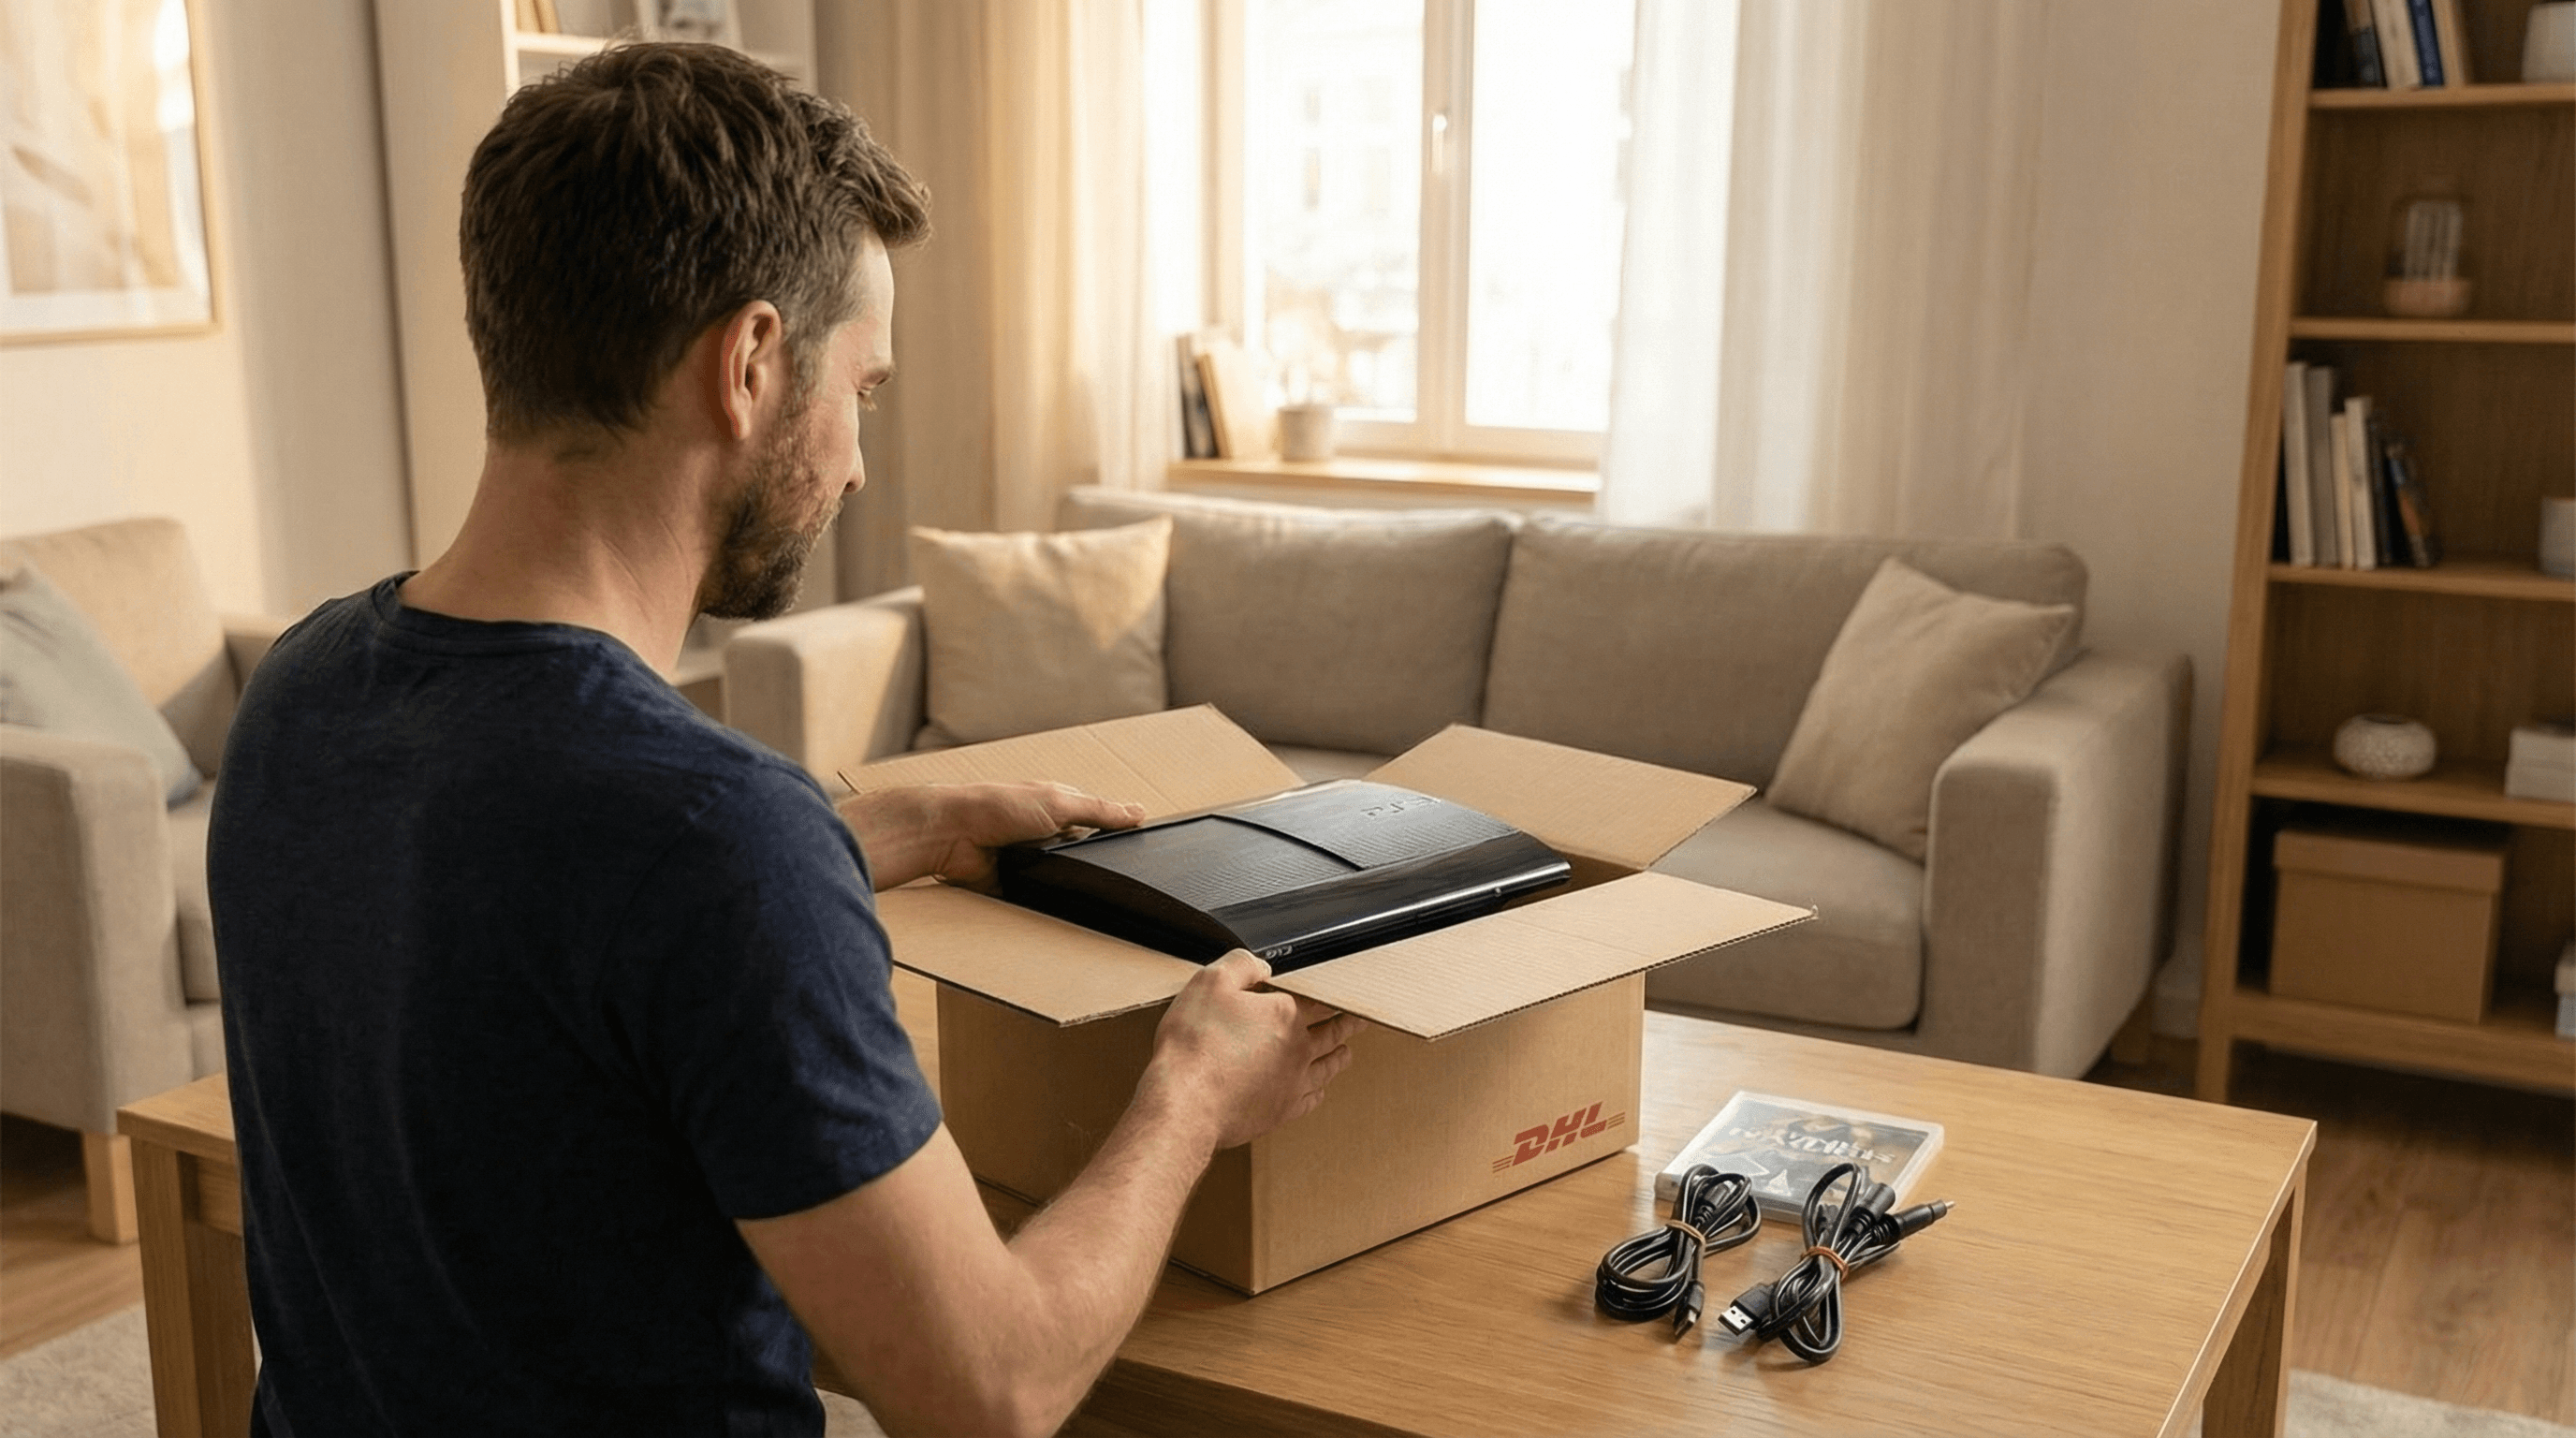
How I made an AI commercial for under €20
A practical workflow for marketers who want to produce AI-generated videos in-house.
The problem: Professional videos, small budget
In 2024 I started PassPad with my cousin — a platform where gamers can easily sell old video games. The core feature: an AI scanner that creates an offer for an uploaded collection in seconds.
To market this feature, we needed a commercial. The problem was obvious:
- Professional production: several thousand euros
- DIY filming: no equipment and no know-how for a convincing result
Since we already use AI for product recognition at PassPad, the idea was simple: why not create the video with AI too?
The outcome in one sentence
A 30-second ad for under €20 in production costs.
The result is not TV-spot level, but it is absolutely usable for a website, social ads, or a pitch — at a fraction of traditional production costs.
The workflow at a glance
3 phases, one goal
- Phase 1: Script & image generation
Plan scenes, generate character and environment references, prepare product reference images.
- Phase 2: Image to video
Use Kling AI 2.6, keep motions simple, iterate until the clips look right.
- Phase 3: Editing & sound
Assemble the clips in CapCut, add transitions, music, and sound effects.
Phase 1: From script to images
Scene planning
Before generating anything, I wrote a simple script with seven scenes:
- Person wipes dust off an old console
- Person unplugs the console
- Person photographs the console and games with a phone
- Person packs everything into a box
- Person brings the box to a parcel station
- Person sits on the couch and receives a notification
- Phone screen shows the PassPad credit
Important: each scene should show a simple, easy-to-read action. Complex movement still tends to look unrealistic in AI video models.
Ensuring character consistency
The biggest challenge in AI video: the same person must look consistent in every scene. My solution: generate reference images first and use them as inputs for every scene.
Step 1: Generate a character reference
Professional studio photography of a man with a friendly smile, short
brown hair, and a neat beard. He is wearing a dark navy blue crew-neck
t-shirt and dark grey jeans, standing with his hands in his pockets.
Centered composition, medium shot, clean minimalist bright white
background, soft professional studio lighting, 8k resolution, highly
detailed and realistic.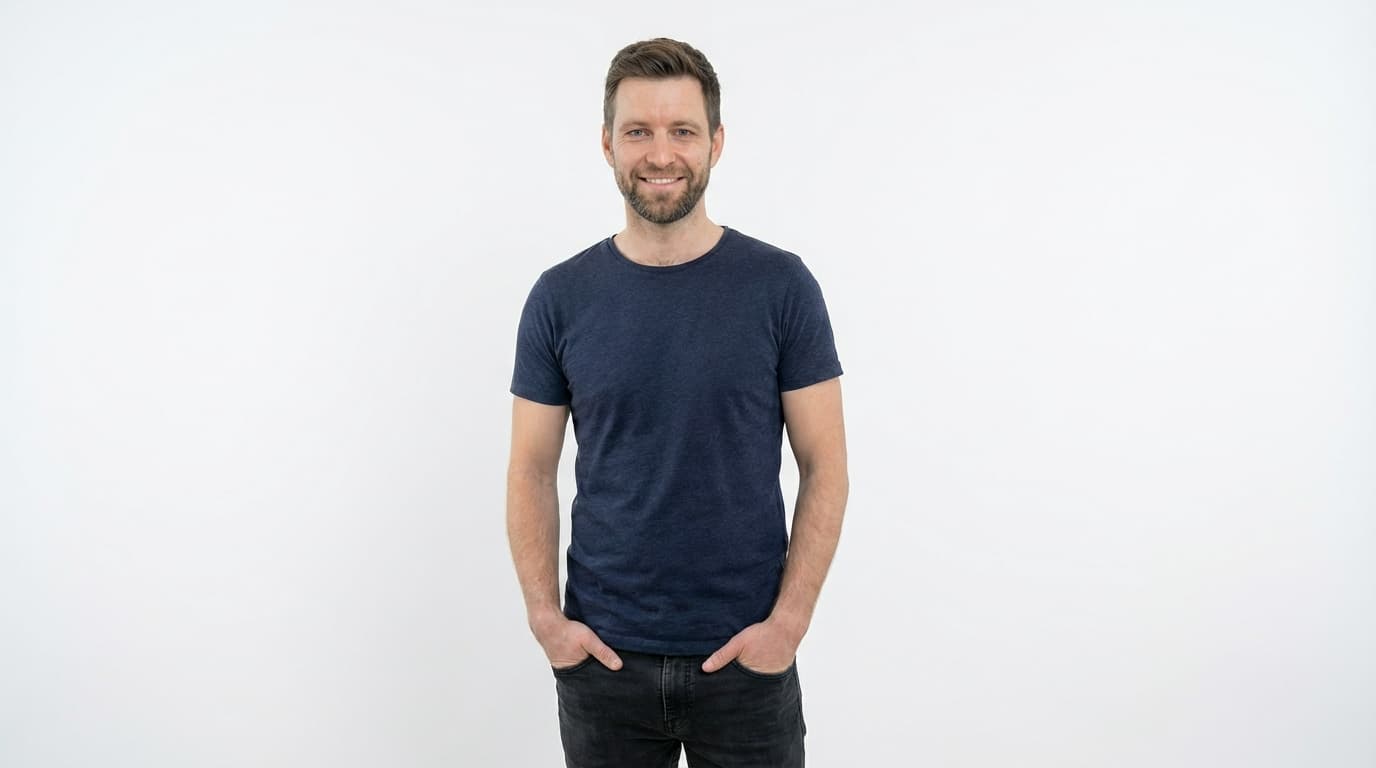
Step 2: Generate an environment reference
A realistic photograph of a bright, minimalist Scandinavian living room.
A beige fabric sectional sofa with neutral and blue throw pillows sits
on a large textured beige area rug. Across from it is a mid-century
modern dark walnut wood TV credenza holding a flat-screen TV, a game
console, and controllers. To the left is a tall wooden bookshelf filled
with books and small potted plants. A large window with sheer white
curtains allows soft natural daylight to flood the room. Light oak wood
flooring, plain white walls. Clean, airy, and cozy atmosphere.
Eye-level view.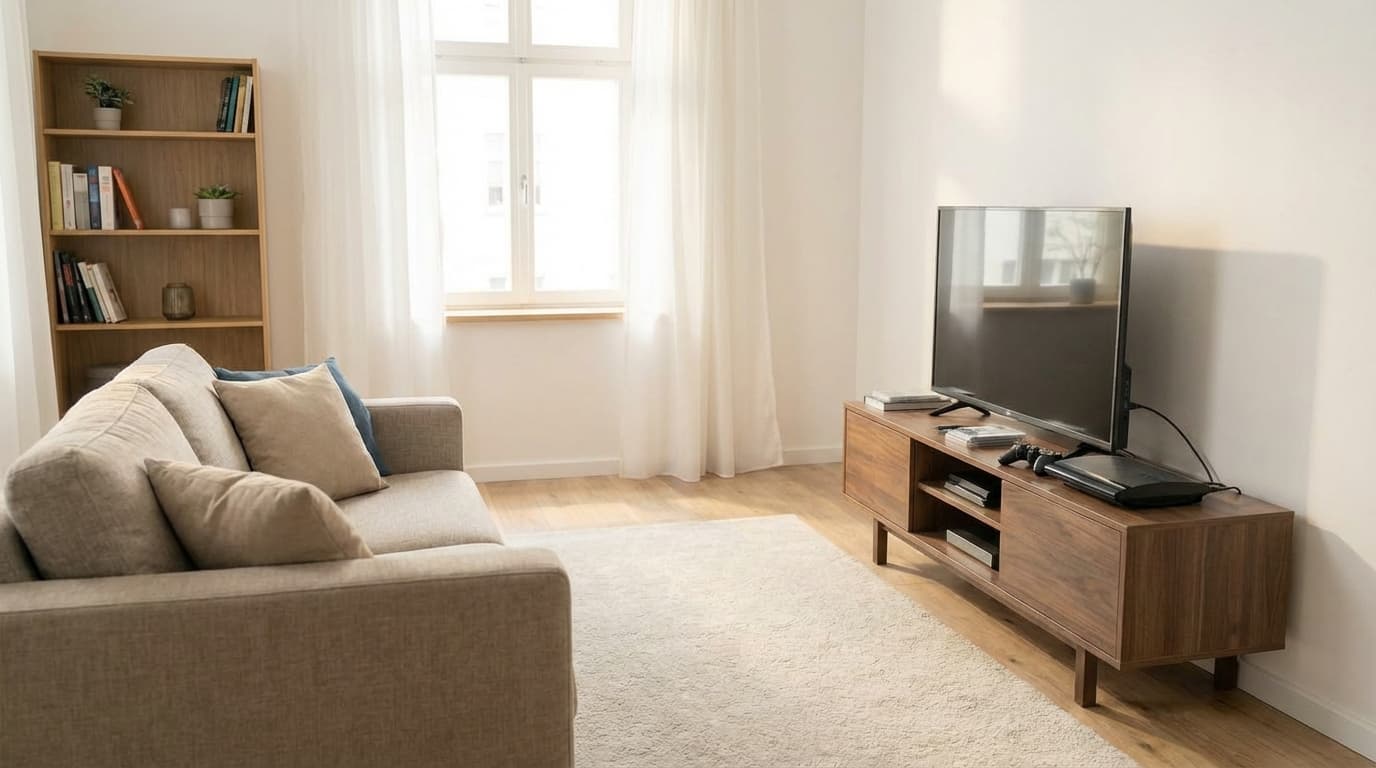
The right tool: Google Nano Banana Pro
For image generation I consistently used Google Nano Banana Pro (Gemini 3 Pro Image). Why?
- Best character consistency — the model can keep up to 5 people consistent across images
- High realism — especially for products
- Reference image support — multiple inputs allowed
I used Google AI Studio with my own API key. Benefit: favorable pricing and no third-party platform in between.
Scene images with product references
For scenes with specific products (PlayStation, games), I added reference photos of the real products. This gives realistic results instead of generic “console placeholders.”
Example prompt for scene 3:
A German man (around 30 years old) in his clean living room. Sitting
in front of a desk. On the desk there is a PlayStation, cables, and a
game. The man is taking a picture of this PlayStation with his iPhone
camera. He is slightly smiling. Picture made from the side slightly
behind him. He is sitting far enough away to capture all products with
the phone camera. Ultra realistic look as filmed for an advertisement.
Products having realistic sizings.
Reference images:
- Character reference
- Living room reference
- PlayStation 4 product photo
- Tomb Raider PS4 cover
Example media for scene 3:
Scene 3: output clip from the input image.
Phase 2: From image to video
Model choice: Kling AI 2.6
I tested several video models:
- Google Veo
- OpenAI Sora
- Kling AI ← winner
Why Kling AI 2.6?
- Excellent frame-to-frame consistency
- Few artifacts and “AI-typical” errors
- Strong prompt adherence
- Optional audio generation
Image-to-video workflow
- Upload the scene start image
- Enter the prompt for the desired motion
- Disable sound generation (added later in editing)
- Generate and iterate if needed
Example prompt for the packing scene:
The person is putting the PlayStation into the box. Afterwards they
reach over to add the first cables to the box (second cable still on
the table). Afterwards they reach for the second cable and add it to
the box as well. They leave the video game on the table. They are not
speaking or moving their lips at all while doing so. They don't close
the box yet.Keep movements simple, use explicit negations, plan for multiple tries, and add sound later in the edit.
Final commercial clip.
Phase 3: Editing
For final editing I used CapCut Pro (desktop). Not a complicated pro suite, but more than enough for this use case.
What I did:
- Arranged the scenes
- Added template transitions
- Trimmed scenes to length
- Chose background music
- Added sound effects at key moments
With Adobe Premiere or DaVinci Resolve you could go further — but for a first AI commercial CapCut was more than sufficient.
Voiceover with ElevenLabs
I used ElevenLabs for the voiceover. Reasons:
- Very natural voices with convincing emphasis
- Fast iteration when the script changes
- Consistent tone across multiple takes
Summary: time, cost, learnings
What I learned
- Reference images are key — without character and environment references you will not get consistency
- Pick simple movements — AI video is not ready for complex choreography
- Plan for iteration — rarely works on the first try
- Document the workflow — the second time is much faster
Tools used
| Purpose | Tool |
|---|---|
| Image generation | Google Nano Banana Pro via AI Studio |
| Video generation | Kling AI 2.6 |
| Editing | CapCut Pro (Desktop) |
| Voiceover | ElevenLabs |